• Home
  • about
  • blog
  • contact
    • Facebook
    • Instagram
    • Pinterest
    • Twitter
    • YouTube

The Regular Folks

  • Shop
    • shop my posts
    • amazon finds
    • style favorites
    • home favorites
    • etsy finds
  • Food
  • Home
    • travel bucket list
  • Life
    • Favorite Things
  • wellness
    • 75 Medium
  • Style
    • style favorites
    • shop my posts
    • Amazon Hauls
  • Books
    • Book Posts
  • Travel

August 9, 2023 · 2 Comments

Making My Taylor Swift Eras Tour Jacket

DIY

It’s hard to believe that a week ago, I was flying to LA so that I could go see Taylor Swift in concert for the Eras Tour! I was able to go to night 1 at SoFi Stadium, and to say it blew my mind would be an understatement!

View this post on Instagram

A post shared by Sara Ann Sutton (@saraannsutton)

If you’ve seen my post about eras tour outfit ideas, you’ll know it took me a while to decide what exactly I was going to wear to see Taylor Swift. Ultimately, I decided to make the cornerstone of my outfit this custom DIY tasseled jean jacket that I added hand beaded strands too with all of the colors that represent the different T. Swift eras!

Eras Tour Concert Outfit Ideas for Every Era

Brainstorming

I got inspired to make this jacket while I was browsing Poshmark and came across this jacket by Farm Rio. I couldn’t get the idea out of my head that I thought this jacket was so cool but that it would be so cool with the colors of the eras!

I was torn on a lot of things initially: do I layer all 10 colors on each strand like my inspiration jacket? Do I make columns of the colors? I ended up asking people on my TikTok who voted for columns of colors. I also ended up getting a number of comments of people saying I should do an ombré between the colors. I wasn’t as convinced about this idea, but I ended up polling people on my Instagram and the majority insisted that I do an ombré effect between the colors– so that’s exactly what I did!

Beads

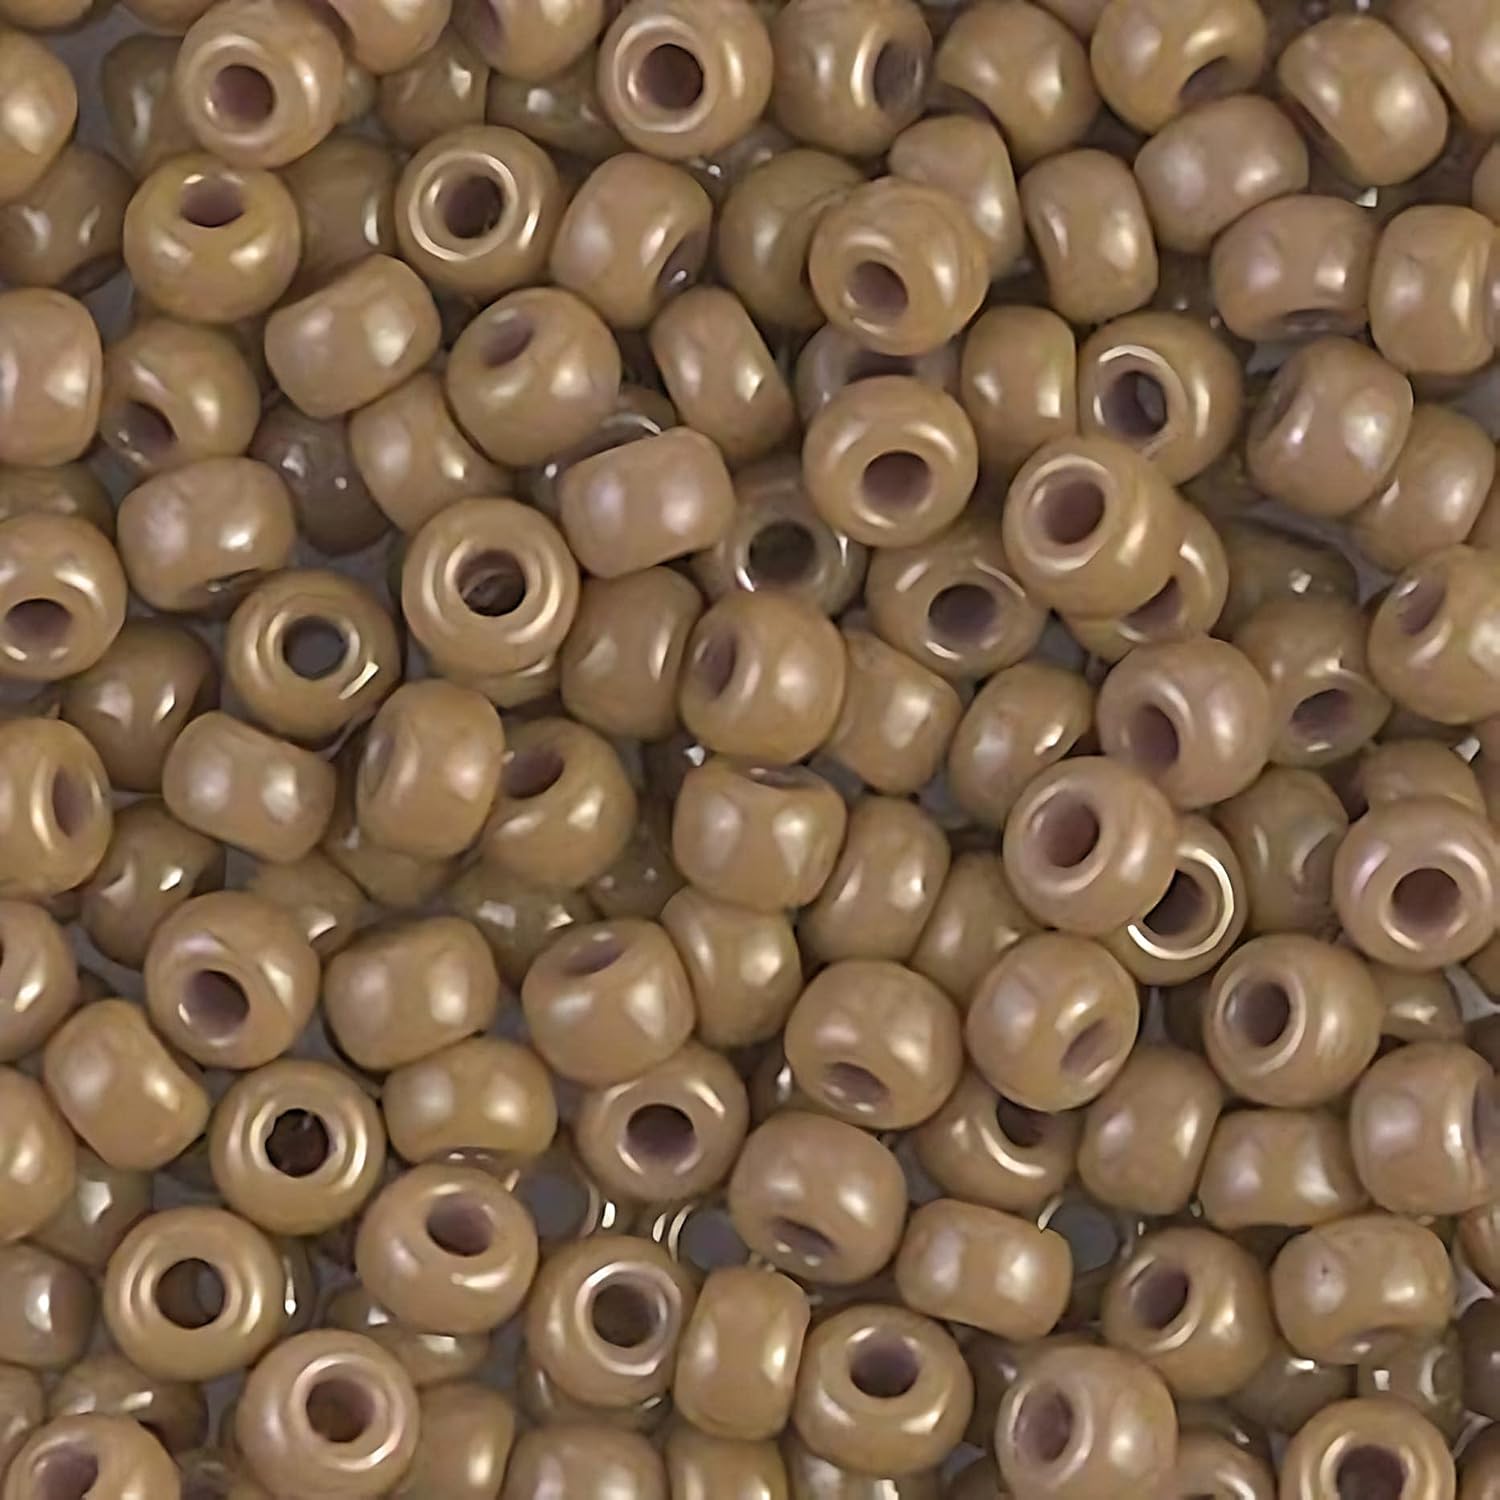
I used glass seed beads from Hobby Lobby from the brand Bead Treasures in the size 6/0. The pros to using this brand was that they were easy to find– generally always in stock, had a wide selection of colors to choose from, and lastly (the biggest reason for me) beads are almost always 50% off at Hobby Lobby so you’re often only paying $1.99 for an 85g tube of beads.

Despite the inexpensive cost (compared to other seed beads), if I could go back in time, I likely would have picked a different brand of beads for a couple of reasons:

1. The beads from Hobby Lobby were often very uneven in shape– making it difficult to get consistent strands.

2. 15% of the time, there would be NO hole to even thread something through.

3. Since using my leftovers for friendship bracelets, I’ve learned that the color on the coated beads comes off after a few wears.

For the purposes of the jacket, the color leaving is not a huge deal (because it’s not rubbing against my skin or potentially being washed like a bracelet would) but the irregular shape and consistency was SUPER annoying when creating this jacket.

Beads Used and Alternatives that I Should Have Used Instead

If you’re trying to make a jacket like this, but are not doing an ombré or do not have an ultra specific bead color you want to use, I would really recommend using some bead fringe trim like this to save yourself a LOT of time!
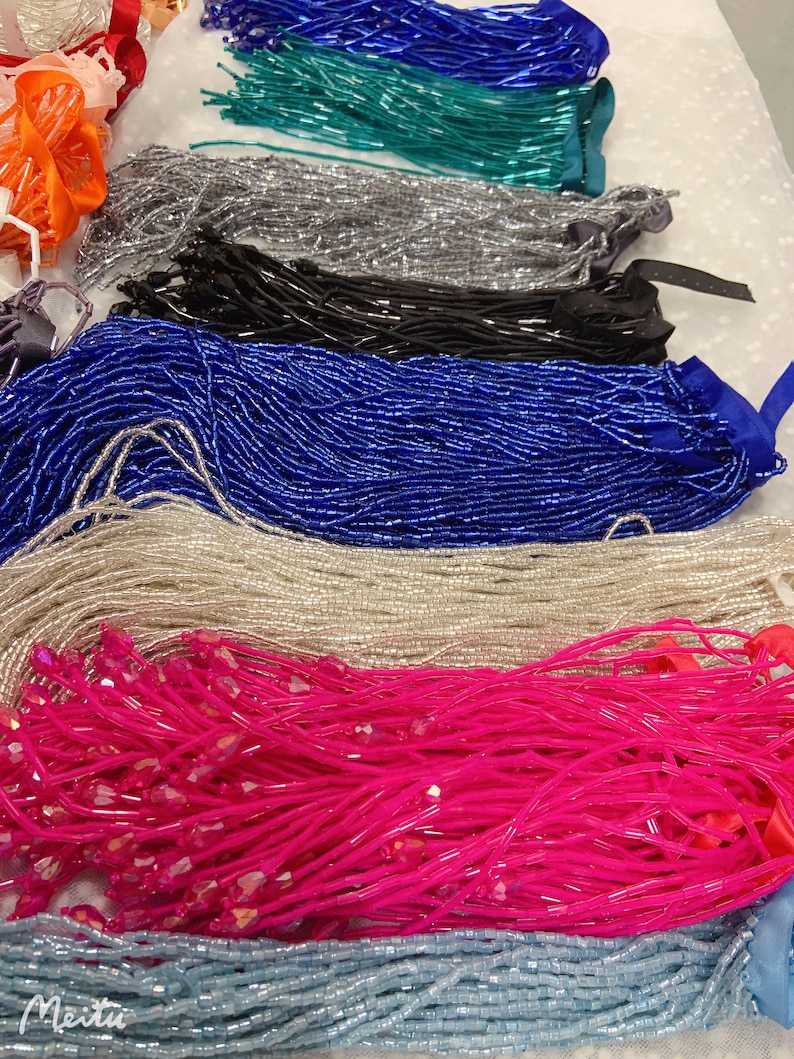
Scraps of bead fringe trim Surprise Grab Bag Goodie Bag image 3

I have linked each color that I used, and also added in which beads I would use instead just in case you are trying to recreate something similar.

Debut: Bead Treasures; other recommended brand in either green or light clear green

Green Glass Seed Beads - 6/0Glass Seed Beads by Bead Landing®, 6/0

Fearless: Bead Treasures; Other recommended brand in crystal gold lined

Metallic Gold Glass Seed Beads - 6/0John Bead Czech Glass Seed Beads, 6/0

Speak Now: Bead Treasures; different recommended brand in light purple

Purple Glass Seed Beads - 6/0Glass Seed Beads by Bead Landing®, 6/0

Red: Bead Treasures; different recommended brand in red

Transparent Dark Red Glass Seed Beads - 6/0Glass Seed Beads by Bead Landing®, 6/0

1989: Bead Treasures; different recommended brand in light blue

Macaron Matte Aqua Glass Seed Beads - 6/0Glass Seed Beads by Bead Landing®, 6/0

Reputation: Bead Treasures; different recommended brand in black

Black Opaque Matte Glass Seed Beads - 6/0Glass Seed Beads by Bead Landing®, 6/0

Lover: Bead Treasures; alternative recommendation in light pink

Macaron Matte Pink Glass Seed Beads - 6/0Glass Seed Beads by Bead Landing®, 6/0

Folklore: Bead Treasures; alternative recommendation

Cream Glass Seed Beads - 6/0

Evermore: Bead Treasures; alternative recommendation 1 and alternative 2

Metallic Bronze Glass Seed Beads - 6/0

Midnights: Bead Treasures; alternative in either blue or Black Aurora Borealis (the latter one would be SO cool)

Silver Lined Sapphire Glass Seed Beads - 6/0Glass Seed Beads by Bead Landing®, 6/0

Other Supplies Used

I used regular sewing thread that I already had. If I could go back in time, I would instead use some thicker thread meant for denim, like this:

I used E6000 glue and feel very confident that it is the best heavy duty glue to use for this job! I got it at Hobby Lobby for like $3. Just make sure that you use it outside or in a well-ventilated area!

Lastly, the actual jacket I used was a denim jacket that I thrifted from Goodwill for $7. It was a size XL which was perfect because I really wanted an oversized look.

Eras Tour

Process

So here is the part that gets a little bit harder to explain and is ultimately going to be determined by your actual jacket that you are working with and the size. For me, I found it easiest to draw out my measurements and idea on my iPad to kind of make sense of the whole project.

I installed all of my bead strands along the seam that ran from the arm, over the back and to the next arm. So I measured out how long that was which was 53 inches of space I would need to fill with beads.

From there I kind of worked backwards. The ombré definitely complicated this process, but I made a bunch of strands of how I wanted the ombré to look so I could see how many strands I would need to create that ombré/transition section. Once I made that, I measured how much width the ombré strands would take up which got me 1.75 inches. I determined from my drawing that I would have 9 ombré/transition sections so I did:

53 in – (1.75 in x 9 sections) = 37.25 inches remaining for solid color sections

37.25 in / 10 sections = 3.725 inches wide for each solid color section

This provided me with a rough guide of how wide to make each section so that I was able to mark out on the jacket where each section would start and begin, so that all I had to do was fill it in with beaded strands!

Also just a side note/tip: I say this in the YouTube video of the process, but having some kind of tray probably would have saved me about hours of time at the end of the day lol

Creating the Strands

I explain this process in the video I made, so you may find that explanation easier; however, here is my attempt at explaining with lots of pictures. Also, I’m certain there is probably a better way for me to have done this– this is just how I did it! I explain the process of creating the strands and attaching them to the jacket starting at the time-point 5:40.

Step 1

Cut yourself a piece of string. I normally cut off a piece of string about 20 inches long.

Step 2

Take one bead and string it through. This will act as your stopper bead

Step 3

String the 2 ends through a needle

Step 4
Start stringing on your beads over the needle (to make it easier) and so that they are being strung on essentially 2 strands of thread
Step 5

OK here’s where you’ll have to bear with my poor diagram drawing because getting a picture of this wasn’t working!

Keep adding beads until you get your desired length (the beaded part of my strands were 5.125 inches long along the arm seam and 6.375 inches long along the back seam [The reasoning for this is more evident in the video). Once that length has been achieved, I used the needle to thread the two ends through the outside of my jacket so that I had two ends coming out of the INSIDE of my jacket.

Step 6

I then took the two loose ends of the string and used them to tie a basic overhand knot several times.

Step 7

Once all of my strands were installed in the jacket, I took one of the string ends from one strand (circled end from strand A), and one of the string ends from the strand directly next to it (circled end from strand B), and used those to tie another basic overhand knot several times. Repeat with all strands and on either side of each strand.

Step 8

Now all of your strands should be knotted in and knotted together. I then went in with E6000 glue to really make sure the beaded strands weren’t going anywhere! Make sure you do this outside or in a well-ventilated area, the vapors are toxic! I just dabbed the glue along the knots along the inside of the jacket. I let it sit to cure for about 24 hours before I messed with it.

Step 9

Trim up the excess string ends on the inside of the jacket. I also did one more touch up of glue just to make sure it was secure!

I’m really so happy with how my jacket turned out! I got so many compliments on it and it was cool knowing that I had a jacket that absolutely NO ONE else had!

The rest of my outfit for the Eras Tour was this top from Lulus and this faux leather skirt from Amazon. I loved both!

Now I basically need to find a way to the Eras Tour AGAIN! 🙂

PS. If you purchase any items through my affiliate links, I may earn a small commission. This will not affect your price, nor will it cost you anything. Thanks!

« The Four Winds: Book Review
Happy Place: Book Review »

Trackbacks

  1. Eras Tour Concert Outfit Ideas for Every Era - The Regular Folks says:
    August 9, 2023 at 3:16 pm

    […] If you want to read about how I made my custom beaded jacket with all of the colors of the eras, you can read HERE! […]

    Reply
  2. Eras Tour Concert Outfit Ideas for Every Era (Part 2!) - The Regular Folks says:
    January 24, 2024 at 2:35 pm

    […] Taylor perform at SoFi Night 1 in LA in August and had the most AMAZING time. I thrifted some of my own Eras outfit (since I’m knew I was likely to never wear this outfit again), so I’ve been scouring Poshmark a […]

    Reply

Leave a Reply Cancel reply

Your email address will not be published. Required fields are marked *

Recipe Rating


This site uses Akismet to reduce spam. Learn how your comment data is processed.

Hey there!

I’m Sara Ann and am a big fan of fresh flowers, traveling, and eating a pint of Ben & Jerry’s in one sitting. I share my life, loves, ideas, and everything in between with the hope to inspire and help make the lives of regular folks (maybe like you!) simpler, happier, and healthier.

Looking for Something?

Follow me on instagram

saraannsutton

let’s create a suburban fairytale!! 📚🧚🌷
lifestyle, motherhood, DIY, & a dash of whimsy ✨
💌 saraann@theregularfolks.com

I made these carb-balanced/blood sugar friendly/hi I made these carb-balanced/blood sugar friendly/high protein breakfast muffins often in my first pregnancy and honestly have enjoyed them well beyond pregnancy! They’re only 5 ingredients and give the bready texture I was missing when I had gestational diabetes. It’s kind of similar to a sausage ball! I normally eat 2-3 muffins for breakfast as each muffin has about 7 grams of carbs and 12 grams of protein!

5-INGREDIENT SAVORY BREAKFAST MUFFINS
* 1 pound of turkey sausage (or whatever type you like)
* 4 eggs
* 1 cup shredded cheddar cheese
* 1 cup Kodiak cake baking mix
* 1/3 cup cottage cheese

Instructions
1. Preheat oven to 350℉ and spray a 12-cup muffin pan with non-stick cooking spray
2. In a pan over medium heat, add the sausage and crumble while cooking. Cook until no longer pink. Remove from heat and allow to cool briefly.
3. In a bowl, crack the eggs and lightly beat. Add shredded cheese, kodiak mix, cooked sausage, and cottage cheese and mix well (mixture will be thick)
4. Fill the 12 prepared muffin cups evenly with the mixture.
5. Bake for about 22-25 minutes or until golden brown on top

Recipe Notes
If meal prepping for the week, store leftovers in a container in the fridge. You can heat by microwaving for about 1 minute. I prefer to reheat them by microwaving a couple for 15-30 seconds and then pop them in the air fryer at 350 for 3-5 minutes.
#breakfastideas #gestationaldiabetes #highproteinbreakfast
This year I made a felt crown for my son’s birthda This year I made a felt crown for my son’s birthday and it wasn’t nearly as difficult as I thought it might be! It also turned out to be so inexpensive but something so personalized for my toddler 🥹❤️ #birthdaytradition #toddlermom #kidsbirthdayideas
What I Eat in a Day: 23 weeks pregnant and attempt What I Eat in a Day: 23 weeks pregnant and attempting to be carb-conscious (my doctors have asked me to be carb-conscious because of my history of gestational diabetes!) PSA: I’m not including vegetables (unless they are starchy) in this carb count bc my dietician said I don’t need to count them 😌

Breakfast: sweet potato hash with @jonesdairyfarm chicken sausage, egg, and feta cheese + coffee with sugar-free @coffeemate 

Snack: @costco protein bar

Lunch: 1 slice of Ezekiel bread with pimento cheese and tomato + apple

Snack 2: low-carb yogurt with @sevensundayscereal granola and strawberries

Dinner: @chickfila Cobb salad (s/o to their app designer bc their nutrition facts makes it so easy when you’re counting carbs!!)

Snack: @barebells.usa protein bar (@sheetz has a great protein bar selection!!)

Bedtime snack: @fairlife chocolate milk 🥛🍫❤️

#gestationaldiabetes #carbconscious #pregnancy #healthymealideas
What I ate in a day at 22 weeks pregnant with a hi What I ate in a day at 22 weeks pregnant with a history of gestational diabetes (my doctors have asked me to be carb-conscious because of my history!) PSA: I’m not including vegetables (unless they are starchy) in this carb count bc my dietician said I don’t need to count them 😌

Breakfast: breakfast burrito with egg, @jonesdairyfarm chicken sausage, tomato, and avocado (I know I should switch to a lower carb tortilla but just let me have this one indulgence lol) + sugar-free @coffeemate in my coffee

Snack: @costco brand protein bar

Lunch: Cannellini bean salad (about 1/2 cup beans in this serving) with tomatoes, cucumber, bell pepper, olives, feta, lemon juice, olive oil, parsley, salt/pepper + 2 mini naan bites

Dinner: crispy chicken cutlet topped with Caesar salad (love the @chosenfoods dressing) + side of strawberries 

Bedtime snack: @fairlife chocolate milk 🥛❤️🍫

#pregnancy #gestationaldiabetes #whatieatinadayrealistic
And it’s not even officially fall yet 🙂🍁🍂 #fallact And it’s not even officially fall yet 🙂🍁🍂 #fallactivities #toddlermom #parentinghumor #marriagehumor
When I had my first child, I underestimated the po When I had my first child, I underestimated the power of a peaceful bedroom to recover postpartum and exist in the newborn bubble. It might sound kind of silly, but I want to create a peaceful haven in my bedroom for postpartum because the newborn trenches are tough! 

I’m going for neutral in here, but more layered, earthy, textured and elevated (without feeling formal). Next up is styling my bed, giving my nightstands and dressers and makeover, and lots more decor and styling! #homediy #pregnancy #bedroommakeover #bedroomdecor
#SecretDeoPartner On days when I don’t initially f #SecretDeoPartner On days when I don’t initially feel my best, I try to be intentional about doing simple acts to turn that feeling around: putting on a cute outfit just to wear around the house; decorating for fall (arguably) a little early; or wearing an amazing scent. The Secret Cocoa Butter Invisible Solid is my FAVORITE, and its all day freshness gives me a boost of confidence throughout the day. #RomanticizingLife #ToddlerMom @secretdeodorant
Here’s some simple things to do to make this week Here’s some simple things to do to make this week a little more whimsical, magical, and fun ❤️✨ do it for yourself, do it for your kids, do it for both! #whimsy #whimsicalchildhood #toddlermom
My doctor asked me to be carb conscious because of My doctor asked me to be carb conscious because of my history of gestational diabetes, so here is what I ate in a day at 21 weeks pregnant!

1st breakfast: savory breakfast muffins made with @kodiakcakes pancake mix + coffee with sugar-free @coffeemate 

2nd breakfast: thin slice of sourdough with smashed avocado and egg

Lunch: sourdough with pimento cheese and tomato + blueberries + @lesserevilsnacks popcorn

Snack: boiled peanuts

Dinner: ground beef burrito bowl with brown rice and black beans

Bedtime snack: @ghostlifestyle protein cereal with low carb milk

#gestationaldiabetes #diabetes #mealideas #pregnancy
These simple days with my sweet family are the day These simple days with my sweet family are the days I always dreamed about and now that I’m living them, I won’t take them for granted ❤️✨ 

#whimsicalchildhood #toddlermom #slowlifestyle #simplelife
What I ate in a day at 20 weeks pregnant with a hi What I ate in a day at 20 weeks pregnant with a history of gestational diabetes! I am trying my best to follow the diet I followed with my 1st pregnancy. Fingers crossed I don’t have GD this time around though (being tested at 24 weeks 🫩) 

Breakfast: viral spring roll “bagel” filled with sausage, egg, and cheese + matcha latte with @fairlife milk and sugar-free vanilla syrup from @torani 

Supplements: prenatal and probiotic from @gardenoflife choline from @naturemadevitamins, and vitamin D

Lunch: chicken&pork gyoza, soy sauce + apple

Snack: PB protein cereal from @ghostlifestyle and @fairlife milk

Dinner: viral sheet pan beef “kebabs” with low-carb wrap from Ole, roasted zucchini, tomato, feta, tzatziki, and hummus

Bedtime snack: low-carb vanilla Greek yogurt and @sevensundayscereal granola

#gestationaldiabetes #pregnancy #2ndtrimester
Sometimes, boys have childhoods that are centered Sometimes, boys have childhoods that are centered around traditionally boy-ish things like trucks and sports, and while my son LOVES those things, I think boys don’t always get all the whimsy that girls get. Whimsy is for girls AND boys!! Every childhood deserves to be whimsical 🥰 #toddlermom #toddleractivities #whimsy #whimsicalhome
Follow on Instagram

Blog

About

Contact

Policies

Browse by category

you look lost. follow me!

  • Facebook
  • Instagram
  • Pinterest
  • Twitter
  • YouTube

TikTok Feed